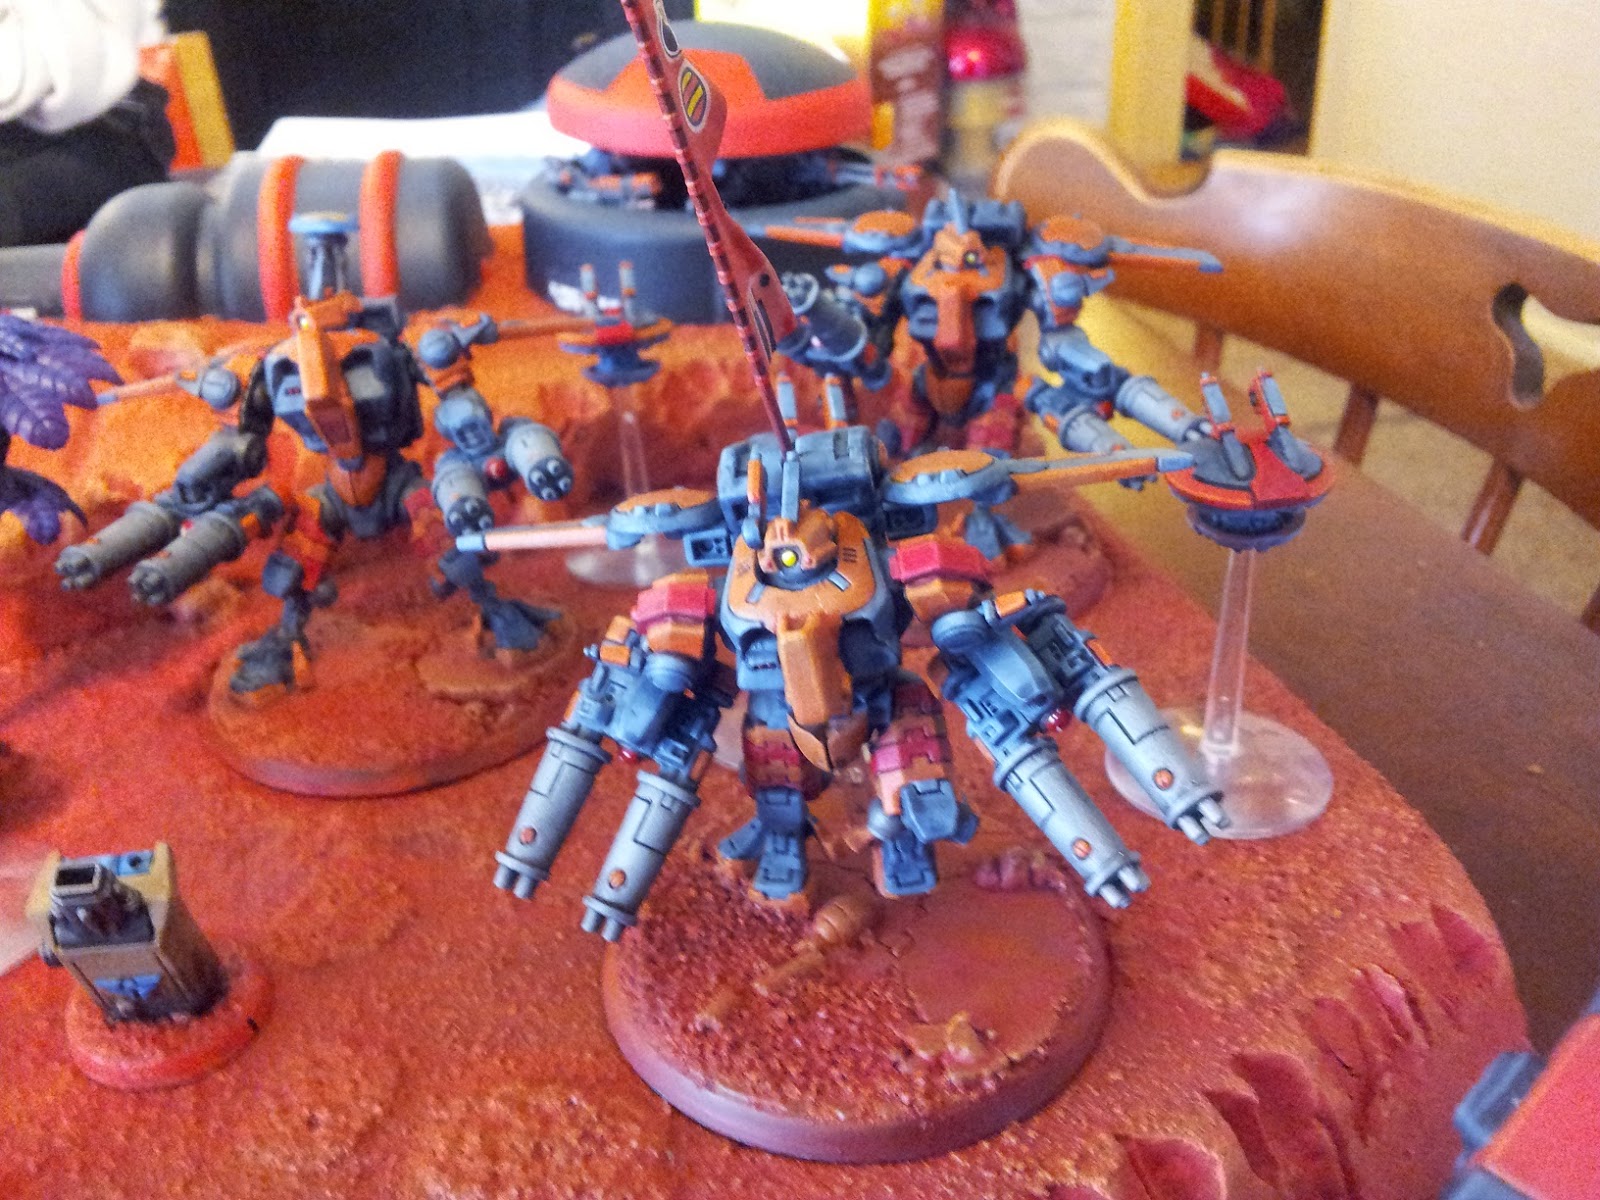
This is my first how-I-did-it guide with my conversions. This project was a little ambitious and quite an undertaking especially when I wanted to do 3 of them. I always loved the model and rules for the Forgeworld
XV9 Hazard Team for my Tau army. However I didn't love the Forgeworld prices, and had a lot of extra parts lying around.
This was my attempt to building as close to the XV9's as I could get with the extra parts. After building the 1st one, I decided to chronicle how I did it for the other 2. The following guide steps you through it and what parts I used.
The following kits contributed parts for this conversion:
Lets first start with the central-most part of the soon-to-be XV9. The torso.
You will find a lot of my Crisis suit conversion instructions (more will come) start with completely tearing apart the standard Crisis suit kit and putting it back together in a weird way. So these next few steps will be doing just that.
We will start by removing the pelvis from the torso piece. Doing just this to the standard XV8 kits make it look much more dynamic and cooler. It seems to be the trend with coming battlesuits, a separate pelvis.
This little bit here I did with a knife instead of a saw because I felt using the hobby saw would have cut too much out of it, and it's already a little fragile. Personal preference though.
Make sure you keep that pelvis piece, because we will be using it later.
Moving on to the next part of the XV8, the central torso part. Which is the rear of the cockpit and fronts of the jet pack.
First we start by removing the jet pack parts from the torso.
Make sure you now do the same for the other side.
Now, remove the pelvis from this piece. Start at the bottom where the flying stand sticks into it.
I didn't get a picture of it, but I had to cut across the front to meet the initial cut in the back, then break it free.
Now the final torso piece to cut up is the jet pack and power source. The jet pack assemblies need to be removed.
With the jet packs removed, next is the intake that rises behind the Crisis suit's head.
By now you should have the XV8 Crisis suit torso in several several pieces. Stay tuned, next post we will go into assembling the torso.
(
Part 2 here)


You did a great job with your conversions. Your step by step instructions were fantastic too. Thanks for the inspiration.
ReplyDeleteThanks for the complement! Although this guide is not relevant with the new Crisis kits, but the principles would still be there.
Delete